Showing posts with label Oilcloth. Show all posts

Friday, 15 February 2013

Ruby's Play Kitchen

My husband made this for Ruby's second birthday (to my specifications) - he spent many long hours building it and I was really pleased with how it turned out, although the photos don't really do it justice.


The taps are door stoppers cut down, the faucet my husband made from a piece of copper pipe which he then spray-painted silver.  What I learnt with this project is that you should photograph it before the kids play with it!  The spray-paint got scratched off the faucet pretty quickly.  The splashback, which is my only contribution to the actual construction of the kitchen, is Mexican oilcloth with a piece of perspex over it to hold it on.  I love how the oilcloth looks but the perspex makes it tricky to photograph.  I got the oilcloth the other year from Oilcloth Addict.


Both the fridge and the stove have lights in them, but it's a bit hard to photograph it so you can see the lights:


I'm not very good at keeping receipts or keeping tabs on how much things cost, but it probably cost us about $100, the paint was the most expensive bit, even though we only had to buy the silver paint for the stove, I bought a test pot (Resene Silver Aluminium) thinking it would be enough, but it wasn't.  So we bought another test pot.  Then another one.  Then another one ... We already had the white paint left over from painting our walls (Resene Alabaster), and the blackboard paint from years ago when I used to do mosaics (I made a mosaic-framed blackboard).

Linking up here:

Saturday, 25 June 2011

Oilcloth starter

Just finished my first oilcloth project, a little something to get used to working with oilcloth.  I'm glad I started small, as there are a few things you need to know before embarking on an oilcloth project: 

1) You can't use a normal foot.  I bought a non-stick (teflon) foot.  I read somewhere that you can try putting masking tape on your normal foot.
2) You can't use pins, you also wouldn't want to be doing any unpicking - needles and pins leaves holes in the oilcloth.  I used wooden pegs.
3) You can't use an iron to press it.  Finger pressing is a good option.
4) You need heavy duty machine needles.
5) You probably need to play around with your tension.  (I didn't do this - you'll be able to tell that from the photos)

These are things I didn't know when I purchased my oilcloth.

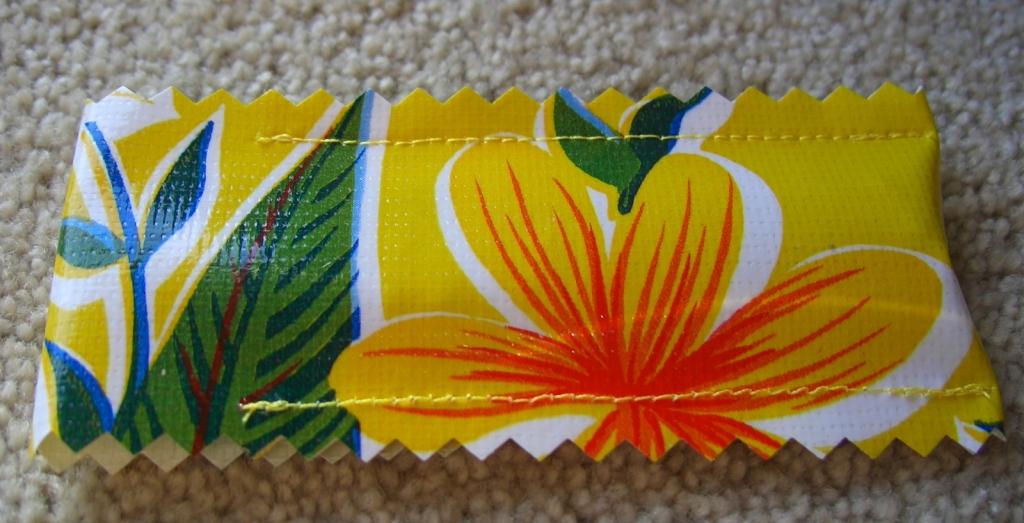
So what did I make?  A case for my thread cutter.  Until today my thread cutter lived in the ugly packaging it came in, too dangerous to leave naked in my sewing kit. 

 Yes, I have yellow velcro.  Found it in an op shop and just knew it would come in handy.  There were other colours as well and I'm kicking myself for not buying them.

After I took the photos I decided to add a piece of felt on the fold where the blades hit the oilcloth.  The stiching is really obvious on oilcloth, certainly on this yellow one anyway.  I needed to adjust the tension on the sewing machine, but was too lazy - I'll pay particular attention to this on my next project.

Saturday, 18 June 2011

Can.Barely.Contain.Myself

A very exciting package arrived in this morning's post.

A few weeks ago I read an article in the NZ Herald about the New Zealand dollar being at an all time high against the US dollar, and we all know what that means!!  (For those that don't know, it means it has never been cheaper for New Zealanders to buy something in US dollars)  So I went a little craaazy with the credit card and purchased some oilcloth and cotton laminates from Kelly at Oilcloth Addict.


The cotton laminates are so soft, much softer than I thought they would be, I can't wait to make something ...
Related Posts Plugin for WordPress, Blogger...